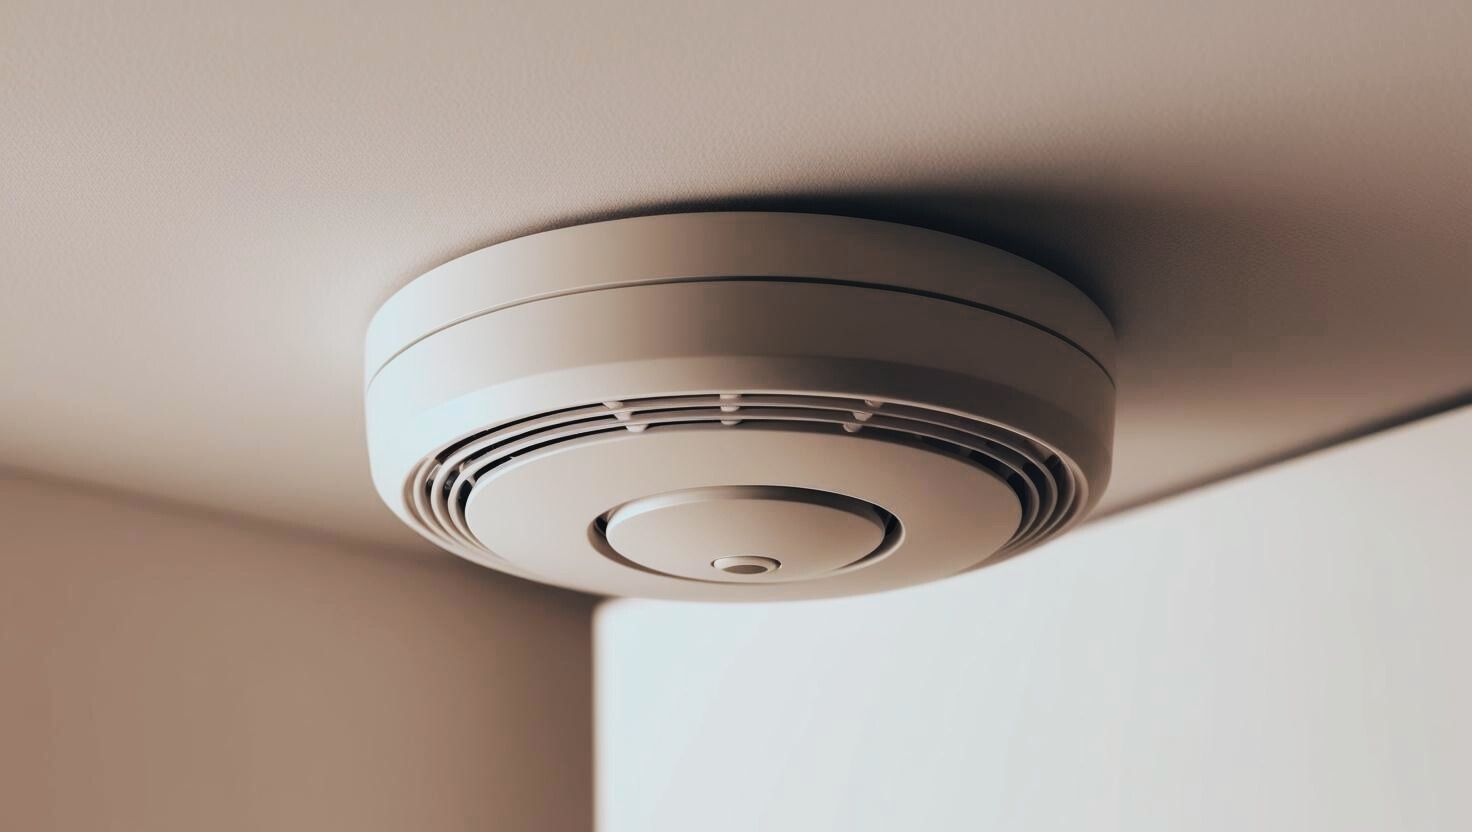
The Importance of Changing Smoke Detector Batteries and How to Do It
Smoke detectors are one of the most essential safety devices in your home. They serve as an early warning system in the event of a fire, providing precious time to escape and potentially saving lives. However, these life-saving devices can only do their job if they are properly maintained, and one of the simplest yet most critical maintenance tasks is ensuring the batteries are fresh and functional.
Why Changing Smoke Detector Batteries Is Crucial
Smoke detectors rely on batteries to operate, especially during power outages when fire risks can increase. A dead or weak battery renders the detector useless, putting your home and family at risk. According to the National Fire Protection Association (NFPA), nearly three out of five home fire deaths occur in homes without working smoke alarms or any smoke alarms at all. Many of these failures are due to missing, disconnected, or dead batteries.
Regularly changing the batteries in your smoke detectors ensures they will work when you need them most. It’s a simple and inexpensive task that significantly boosts your home’s safety.
How Often Should You Change Smoke Detector Batteries?
To keep your smoke detectors in optimal condition, follow these general guidelines:
-
Change the Batteries Annually: Even if your smoke detector’s batteries still seem functional, replace them at least once a year. Some homeowners find it helpful to do this during a specific event, such as daylight saving time, to serve as a reminder.
-
Test Monthly: Test your smoke detectors monthly by pressing the test button. This ensures the alarm sounds properly and the battery is functional.
-
Replace the Detector Every 10 Years: Over time, smoke detectors can lose sensitivity, even with fresh batteries. Check the manufacturing date on your smoke detector and replace the entire unit if it’s over 10 years old.
How to Change Smoke Detector Batteries
Changing smoke detector batteries is quick and straightforward. Follow these steps:
-
Gather Your Supplies: You’ll need the appropriate replacement batteries (commonly 9-volt or AA batteries), a step stool or ladder, and possibly a screwdriver, depending on the design of your smoke detector.
-
Locate the Detector: Identify all the smoke detectors in your home. Check bedrooms, hallways, and any additional living areas. Don’t forget the basement and attic, if applicable.
-
Remove the Detector: If your smoke detector is mounted on the ceiling or wall, twist or slide it off its bracket. Some models may require a screwdriver to remove.
-
Open the Battery Compartment: Once the detector is removed, open the battery compartment. This is often located on the back or side of the detector.
-
Replace the Batteries: Remove the old batteries and insert new ones, ensuring the positive (+) and negative (-) terminals align correctly.
-
Test the Detector: Press the test button to ensure the detector sounds. If it doesn’t, recheck the battery installation or replace the batteries again.
-
Reattach the Detector: Secure the detector back onto its bracket and ensure it is properly aligned.
Additional Tips for Smoke Detector Maintenance
- Interconnected Systems: If your home has interconnected smoke detectors, test the system to ensure all alarms sound when one is activated.
- Hardwired Detectors: Even if your smoke detectors are hardwired, they typically have backup batteries. These batteries also need to be replaced annually.
- Keep It Clean: Dust and debris can affect the functionality of smoke detectors. Gently clean them with a vacuum or a dry cloth when changing batteries.
Conclusion
Changing your smoke detector batteries is a simple task that provides invaluable protection for your home and loved ones. By setting a consistent schedule and following these easy steps, you can ensure your smoke detectors are always ready to alert you in an emergency. Make this small yet vital maintenance step a priority to enhance the safety and security of your home.